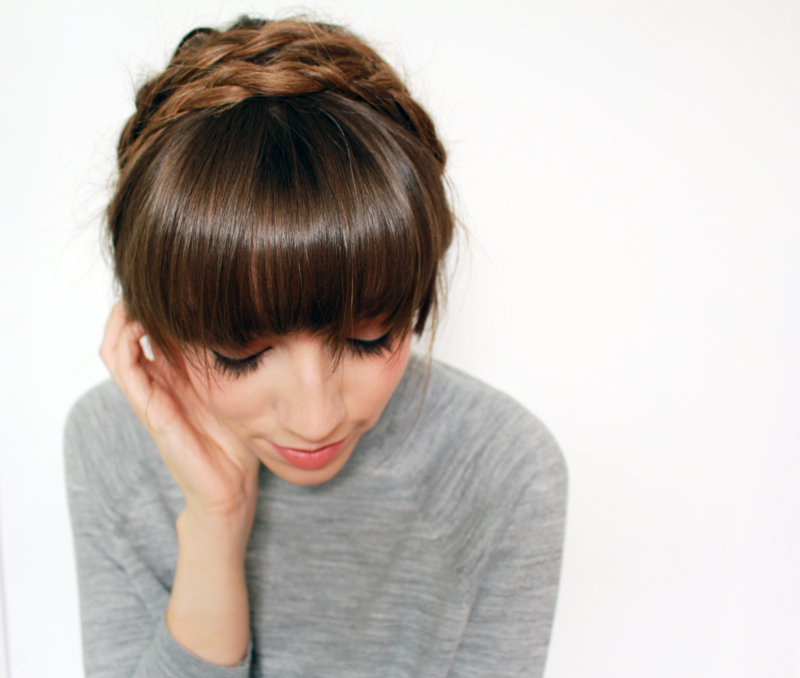
I’m sure you’re all more than aware that my hair, although a big part of my appearance, takes a bit of a backseat when it comes to my beauty routine. I am trying to make more of an effort with it though, as it’s only every straight or curly, so crown braids have become a bit of a thing in my life recently. They’re easy to do and make you look like you’ve made more of an effort than you have, I think, so I put together a little step by step guide of how I do them!
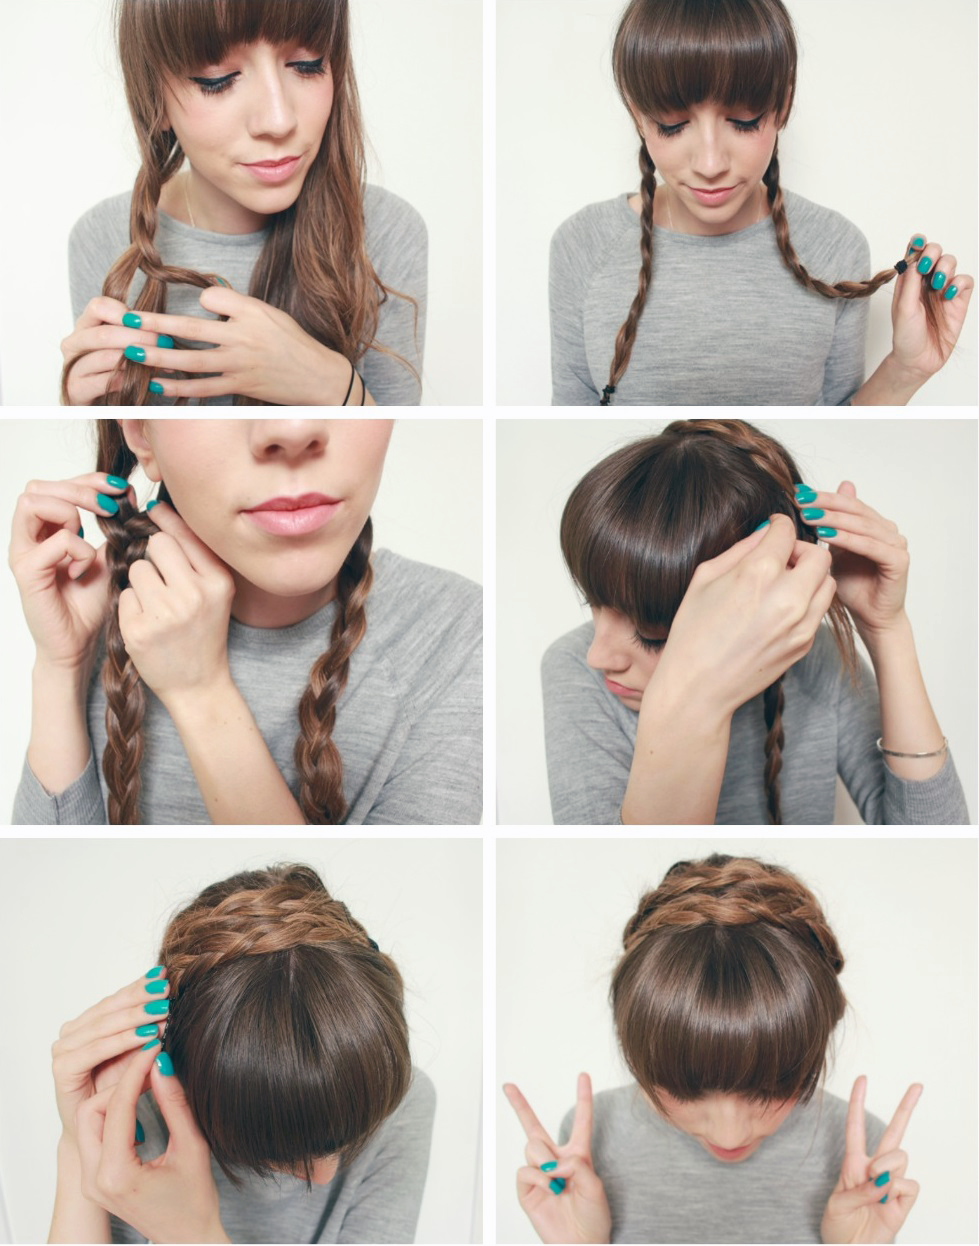
Step One and Two | Separate your hair into two sections and plait each one. Try and plait as far down the hair as you can so you won’t be left with too much stray hair when it’s up.
Step Three and Four | Make a small hole at the top of your plait and feed your hair through it, sort of in a backwards no 6 motion, so it’s towards your face and then up. This just makes the bottom bit neater and closer to your head. Pull the plait across your head and secure with a bobby pin just before the hair tie.
Step Five and Six | Repeat on the opposite side and secure. I always take the hair ties out and fold any hair underneath the other plait, but you can tuck the hair tie under if you want instead. Push the plaits together slightly and you’re done!
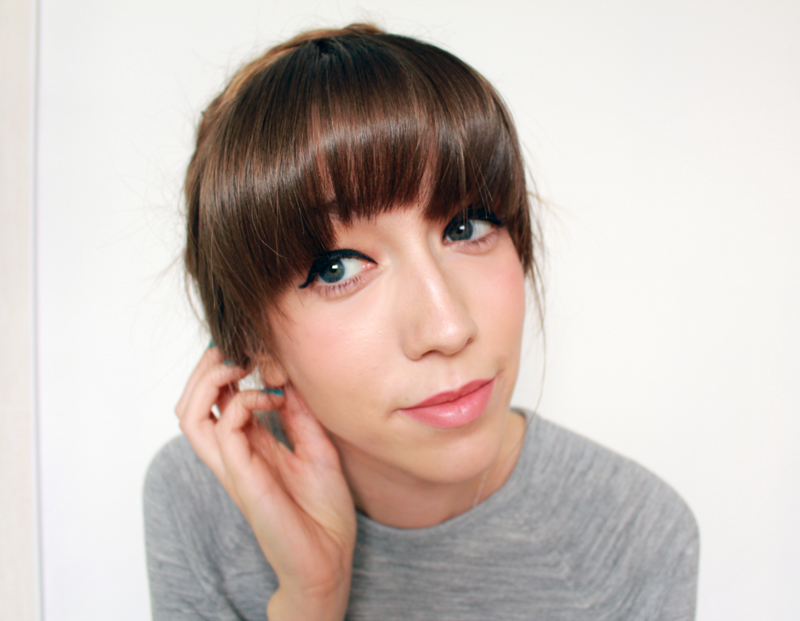
This is such a simple hairstyle and one that I’ll be wearing all summer long, as having almost waist length hair is quite a chore in warm weather! I might try and do other hair tutorials in future (depending on if you liked this one!) as I really do want to do more with my hair. Let me know if you’d like to see more posts like this!
helen x | twitter | instagram | bloglovin
ps. make sure you check out these two wonderful blogs: Rose Keats and Peacock Beauty!

